 novityinfo
A Simple Guide to Converting AVCHD Videos to WMV
Advertisement
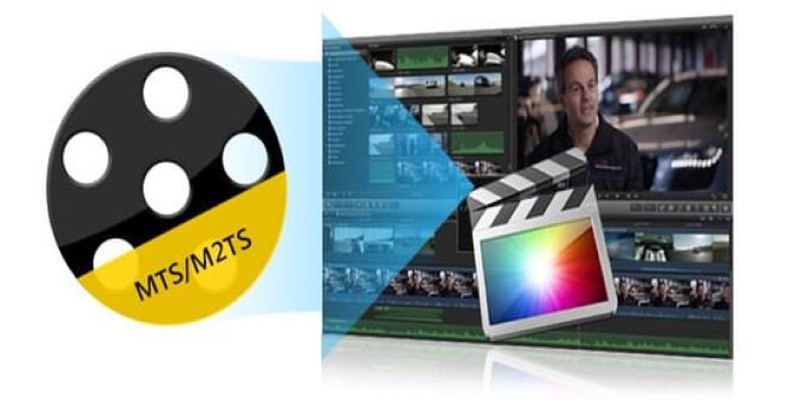
Have you ever recorded a video with your camera and then realized it's not the right format to play on your computer? If your video has the ".mts" or ".m2ts" file extension, it's probably an AVCHD file. AVCHD is great for high-quality video, but it's not always easy to open or share. That's where WMV comes in. WMV files are smaller and work with almost all Windows devices. This guide will show you step-by-step instructions on how to convert AVCHD video to WMV without getting stuck or confused.
What Are AVCHD and WMV? (And Why Convert It?)
AVCHD stands for Advanced Video Coding High Definition. Sony and Panasonic created it to capture beautiful, clear videos, especially for camcorders. These files are awesome for saving memories, but can be huge and tricky to play on regular computers without special software.
WMV stands for Windows Media Video. It’s a file format made by Microsoft. WMV files are smaller and easier to open, especially on Windows laptops and desktops. They don’t take up much space and are great for sharing online, emailing, or editing in common video programs.
So, why would you want to convert AVCHD to WMV?
- Playback: WMV plays easily on almost all Windows devices without needing extra apps.
- File Size: WMV files are much smaller than AVCHD files, so you save space on your computer or phone.
- Editing: Editing WMV videos is easier since programs like Windows Movie Maker, Clipchamp, and even PowerPoint love WMV files.
- Sharing: Uploading a WMV video online is faster because the file isn't so big.
In short, converting AVCHD to WMV makes your videos simpler to use, save, edit, and share.
Choosing the Right Tool for the Job
Before you start converting, you need a tool that can do the job without making it complicated. The good news is that there are lots of easy options. Here are a few tools that work well:
HandBrake
HandBrake is free and open-source. It’s super popular because it works on Windows, Mac, and Linux. But by default, HandBrake doesn't export to WMV. If you want a basic, free tool and don’t mind choosing a different format like MP4 instead, HandBrake is a solid choice.
Movavi Video Converter
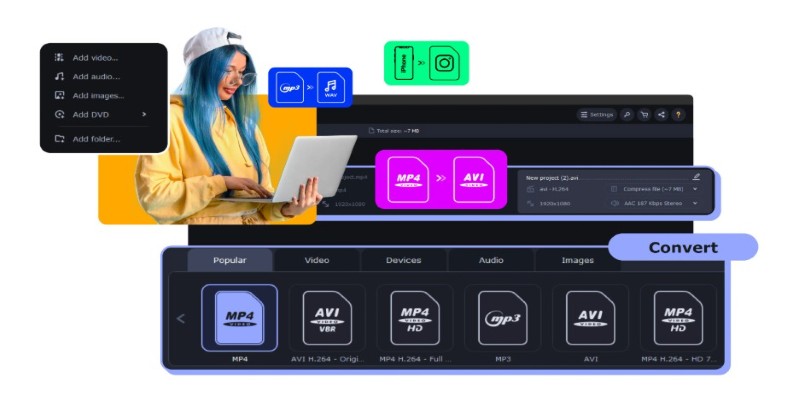
Movavi makes it easy to pick AVCHD as the input and WMV as the output. It has a clean, friendly design and doesn’t need you to be tech-savvy. Plus, it’s pretty fast.
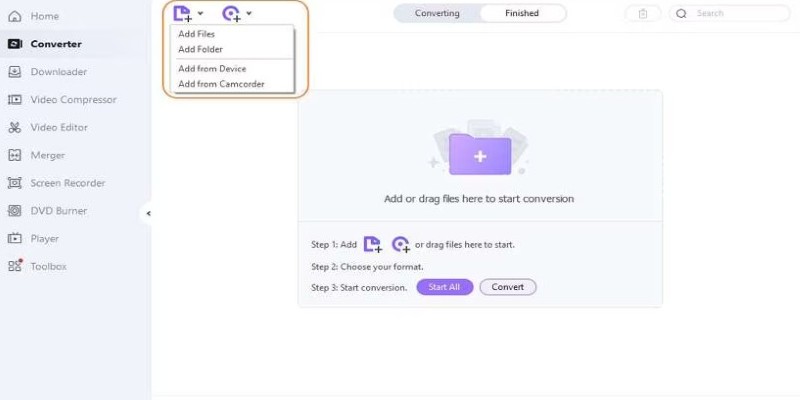
Wondershare UniConverter
This tool supports tons of formats, from AVCHD to WMV. It also comes with extra features like video editing, compression, and DVD burning if you need them.
VLC Media Player
Most people know VLC as a player, but it can also convert videos. It's free, safe, and does a good job if you don't mind a few extra clicks.
Any Video Converter (AVC)
Another free tool that supports AVCHD to WMV with simple settings. It’s good for beginners who want a quick and easy option.
When picking your tool, think about three things:
- Ease of use: Are you comfortable with lots of buttons, or do you want something simple?
- Speed: If you’re converting a big batch of videos, you’ll want something fast.
- Features: Some programs offer extra things like trimming, cropping, or adding subtitles.
Once you pick your tool, you're ready for the fun part—converting your video!
Step-by-Step: How to Convert AVCHD Video to WMV
The exact steps can change a little depending on which tool you use, but the basic idea is almost always the same. Here's a general guide you can follow, with an example using Movavi Video Converter:
Step 1: Download and Install the Converter
Go to the official website of the tool you picked (like Movavi, Wondershare, or AVC). Download the installer and open it. Follow the simple setup instructions.
Step 2: Add Your AVCHD File
Once the program is open, look for a button that says something like "Add Files" or "Import." Click it. Find your AVCHD file (it might end in .mts or .m2ts) and open it in the converter.
Step 3: Pick WMV as Your Output Format
Most converters have a dropdown list or a row of icons for different formats. Choose WMV as the format you want to convert your video into.
Step 4: Choose Output Settings (Optional)
If you want, you can adjust things like the video size, quality, or resolution. For example, you might want to shrink a 4K video down to 1080p to save space. If you're not sure, the default settings are usually fine.
Step 5: Pick a Save Location
Choose where you want your new WMV file to go. It could be on your desktop, in your videos folder, or on an external drive.
Step 6: Start the Conversion
Look for a big button that says "Convert" or "Start." Click it! The program will process your video. This can take a few minutes, depending on how big your video file is and how fast your computer runs.
Step 7: Check Your New WMV File
When it’s done, go to the folder where you saved the new file. Open it with a media player like Windows Media Player to make sure everything looks good.
That’s it! You’ve successfully turned a bulky AVCHD file into a smaller, more usable WMV file.
Conclusion
Converting AVCHD videos to WMV doesn’t have to be confusing or complicated. With the right tool and a few easy steps, you can make your videos smaller, easier to edit, and ready to play anywhere. Whether you’re saving a special family memory or just cleaning up your computer, knowing how to handle video formats gives you more freedom and less frustration. Pick a tool that fits your style, follow the simple steps, and you’ll be all set.
On this page
What Are AVCHD and WMV? (And Why Convert It?) Choosing the Right Tool for the Job HandBrake Movavi Video Converter Wondershare UniConverter VLC Media Player Any Video Converter (AVC) Step-by-Step: How to Convert AVCHD Video to WMV Step 1: Download and Install the Converter Step 2: Add Your AVCHD File Step 3: Pick WMV as Your Output Format Step 4: Choose Output Settings (Optional) Step 5: Pick a Save Location Step 6: Start the Conversion Step 7: Check Your New WMV File ConclusionAdvertisement
Related Articles
A Simple Guide to Converting AVCHD Videos to WMV

Arc Browser Review: Is It Time to Make the Switch?

Convert MKV to iPad Free and Fast with These Top Tools
Add Music to Your Slideshow for Free with These 8 Simple Options

Step-by-Step Guide to Rotating a Video File on Your Computer
The Ultimate Guide to Converting M2TS to MP4 (3D Plus) for Easy Viewing

Snagit vs Camtasia: Choosing the Right Tool for Your Screen Capture and Video Editing Needs

How to Upscale Video Resolution and Reduce Noise: 10 Effective Methods
How to Convert FLV to MP4 for Free: Top Tools and Easy Methods

Translation and Codec Features Arrive in New Owncast 0.2.2 Release
5 Best Xbox Converter Apps and Devices for Mac