 novityinfo
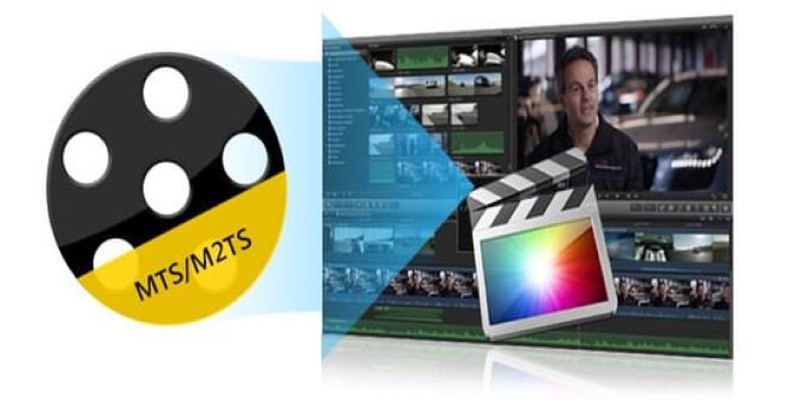
Prep Camcorder MTS/M2TS Footage for Smooth Final Cut Pro Ed-iting
Advertisement
Video files shot on camcorders or certain digital cameras often come in formats like MTS or M2TS. These file types are part of the AVCHD structure, and while they deliver good quality, they don’t exactly cooperate with Final Cut Pro. You might drop one in and get nothing but a spinning wheel or an error. That’s because Final Cut Pro doesn’t support these formats directly. It prefers things like ProRes or QuickTime. So, the solution is simple: convert them first. Once they’re in the right format, Final Cut Pro has no trouble handling them.
This guide will walk through a few ways to convert MTS or M2TS files without losing quality, damaging audio sync, or wasting time.
Convert with HandBrake (Free, but with Limits)
HandBrake is one of those tools people turn to because it’s free, easy to find, and doesn’t take long to learn. If you’re converting for rough edits, personal use, or smaller projects where perfect quality isn’t critical, HandBrake can handle it.
Start by opening the software and dragging it into your MTS or M2TS file. Sometimes, you'll need to dig into a BDMV folder to find the actual video files—they're often buried in a STREAM subfolder. Once you've loaded the file, the key setting to change is the format. HandBrake defaults to MP4, which technically works with Final Cut Pro but isn't ideal. Still, if you're just trimming clips or doing basic edits, it's enough to get the job done.
Choose an H.264 codec for broad compatibility, and make sure the frame rate stays "the same as the source." Audio and video sync can get messy if the settings don't match the original footage. Save the file as an MP4, then import it into Final Cut Pro. Just know that while this method works, it’s not perfect for high-end work. You’ll likely notice some compression and loss in color depth.
Convert with VLC (When You Need Something Lightweight)

VLC is mostly known as a video player, but it can convert formats, too. It's not the fastest method, and it doesn't offer a polished interface for batch conversion, but it's useful in a pinch. Like HandBrake, it supports MTS and M2TS, and you can export it into a format that Final Cut Pro reads.
After loading your file into VLC, use the “Convert/Stream” option from the File menu. From there, you’ll be able to pick the destination format. Again, MP4 is your most available option, but you can customize the profile to match your editing needs. Set the codec to H.264 and double-check your audio settings to avoid mismatch.
This route is better for short clips or when you need a lightweight solution without downloading a larger app. However, don’t expect detailed control over bitrate or color space, and it’s not ideal for longer files. But if all you’re doing is pulling out a scene or two and dropping it into Final Cut Pro for a quick cut, VLC holds up surprisingly well.
Use a Dedicated Converter Like EaseFab or Any Video Converter (For Full Quality and ProRes)
If you’re working with longer footage, planning to color grade, or aiming for a polished export, it’s better to use software that supports Apple’s preferred codecs. EaseFab Video Converter, for example, allows you to convert directly to ProRes, which Final Cut Pro reads natively. This means no rendering delay, no weird playback issues, and no quality loss from compression.
Start by loading your MTS or M2TS file into the converter. The good thing about these apps is they don't require you to hunt down files inside a folder structure—they recognize the AVCHD layout and pull in everything you need. Once the video is in, pick ProRes 422 as your output. If you're working with high-quality footage, 422 HQ is available, too, though the file sizes get much larger.
Audio settings usually default correctly, but you can tweak them if needed. The same goes for resolution and frame rate—make sure they match your source footage. After that, the software will run the conversion. The result is a clean .MOV file that can be dragged into Final Cut Pro without delay.
The real value of using this method is how smooth editing becomes afterward. You don't waste time waiting for Final Cut to transcode. Everything plays back in real-time, color grading behaves the way it should, and exporting goes faster because the file's already in Apple's preferred format.
Final Cut Pro’s Built-In Import Tool (Works—but Only Sometimes)
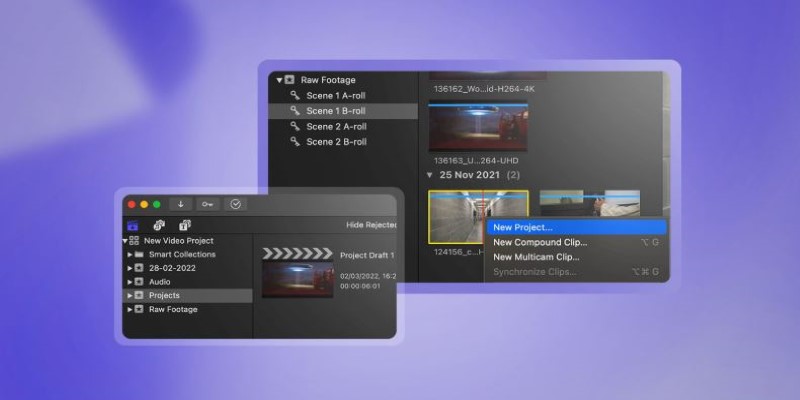
Some users assume Final Cut Pro doesn’t support MTS or M2TS at all. That’s not entirely true. In some cases—especially with files that come directly from a camera’s SD card—Final Cut Pro can recognize and import them through the media import window. But this only works if the entire folder structure from the camera is intact.
If you’ve copied just the MTS files to your computer without the AVCHD folder, Final Cut won’t see them. That’s why this method is unreliable. Still, if you have a card reader and haven’t moved the footage yet, it’s worth trying.
Plug in the card, open Final Cut Pro, and click the Import button. If it sees the clips, it will let you import and convert them to ProRes automatically during the process. This works best when nothing has been moved or renamed.
That said, once the footage is copied to your drive without its original structure, you’ll need to fall back on one of the earlier methods.
Wrapping It Up
Editing MTS or M2TS files in Final Cut Pro doesn't need to be a hassle. You just need to get them into the right format first. Whether you're using a free tool like HandBrake, leaning on VLC for something quick, or going with a dedicated converter for best results, there's a path that fits your project. The goal isn't just to make the file compatible—it's to make sure the editing process stays smooth, and you're not fighting with playback delays or unexpected errors. Once you've done it once or twice, converting these files becomes just another part of the workflow. Want help choosing the best software for your setup or project type?
Advertisement
Related Articles

Klaviyo vs. Mailchimp: Best Email Marketing App in 2025
Prep Camcorder MTS/M2TS Footage for Smooth Final Cut Pro Ed-iting

Convert MKV to iPad Free and Fast with These Top Tools

Step-by-Step Guide to Rotating a Video File on Your Computer

Discover Mellum: JetBrains’ New Open-Source AI for Efficient Coding
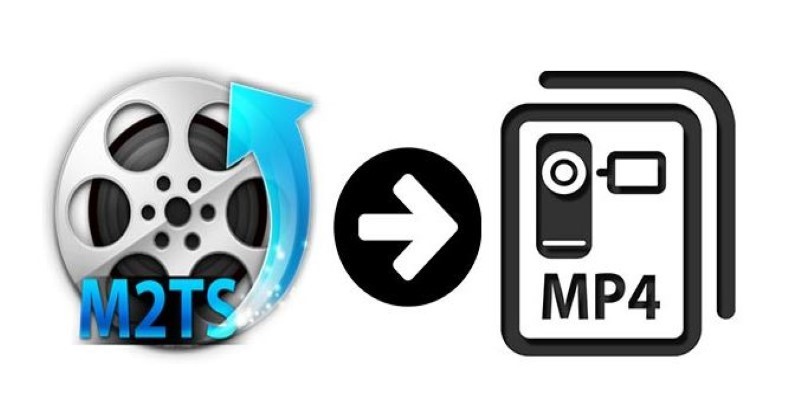
The Ultimate Guide to Converting M2TS to MP4 (3D Plus) for Easy Viewing
Trello vs. Todoist: Which Should You Use in 2025 for Tasks?
How to Convert FLV to MP4 for Free: Top Tools and Easy Methods
Firefox Finally Adds Tab Groups, Solving a Long-Standing User Demand

Top Screen Recording Tools You Should Try Instead of Any Video Recorder

How to Make Your Videos Look Stunning: 3 Simple Ways to Optimize Video Quality