 novityinfo
Master the Art of Recording Your League of Legends Gameplay
Advertisement
Playing League of Legends is a lot of fun, but sometimes you wish you could record your best plays, funny moments, or close matches. Recording your gameplay lets you share clips with friends, post videos online, or even just watch yourself later to get better. The good news is that it’s not hard to do. You just need the right tool and a little bit of setup. Let’s break it down step-by-step so you can start saving your best League games today.
Choose the Right Recording Software
Before you can start recording, you'll need the right tool for the job. There are many options, and some work better than others, depending on your needs.
OBS Studio
OBS Studio is popular because it's free, doesn't lag your game too much, and allows you to have full control over the recording.
Xbox Game Bar
For something easier, the Xbox Game Bar comes integrated with Windows and can record League games within a few mouse clicks.
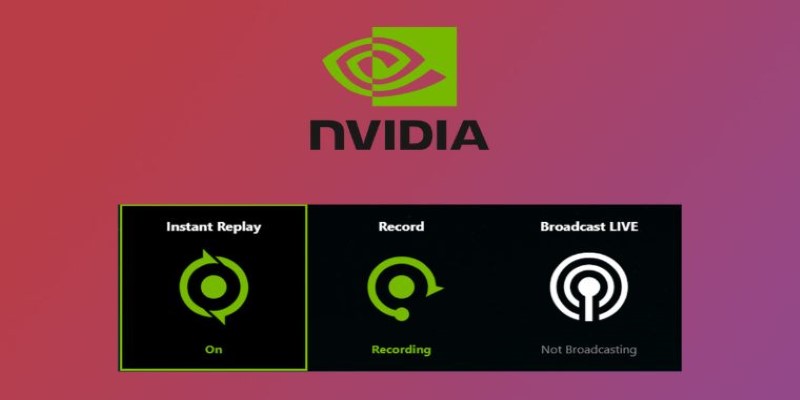
NVIDIA ShadowPlay
NVIDIA ShadowPlay is also an excellent option with an NVIDIA graphics card. It makes minimal use of computer resources and can even record highlights automatically.
Bandicam
Another good one is Bandicam. It's easy to use, captures very high-quality video, and allows you to easily set the size of your video files. It costs money, but the demo version allows you to try it before you buy.
Fraps
Fraps is another choice, though it's a bit outdated now. It's extremely simple to use—open it up, begin your game, and click a button to begin recording. The only drawback is that Fraps makes extremely large video files, so you'll have to have plenty of space on your computer.
Action! by Mirillis
For gamers who want even more features, there's Action! by Mirillis. It's great for recording in full HD and lets you live-stream your games. The only thing to watch out for is that it's a paid app, but many players think it's worth it for the extra tools you get.
QuickTime Player
If you're playing League on a Mac, you can use QuickTime Player. It’s already built into Mac computers and lets you record the screen easily without installing anything extra.
When choosing a tool, consider how easy you want the setup, how much computer space you have, and whether you want extra features like editing or live streaming.
Set Up Your Settings for the Best Quality
Once you pick a recording tool, setting it up will make a big difference. Good settings help your video look clear and keep your game running smoothly.
If you're using OBS Studio, open it and click "Settings." Under the "Output" tab, choose "High Quality" recording and set the format to MP4. Then go to the "Video" tab. Match your monitor's resolution (like 1920x1080 for full HD) and set the FPS to 60 if possible. Sixty FPS will make your League of Legends gameplay look smooth, especially during fast fights.
For Xbox Game Bar, open "Settings" on your computer, go to "Gaming," then "Captures," and set the video frame rate to 60 FPS and video quality to High. That’s usually enough to get great-looking videos without much hassle.
NVIDIA ShadowPlay usually picks smart settings by itself, but you can go into the settings to tweak it if you want your video quality even better. If your computer can handle it, you can change the resolution to 1440p or 4 K.
If you are using Bandicam or Fraps, you'll find simple menus where you can choose the resolution and frame rate. Again, stick to full HD and 60 FPS if you can, but if your computer struggles, you can lower it slightly to keep your game smooth.
Start Recording Your League of Legends Gameplay
Now that your tool is ready, you can record your matches.
With OBS Studio, open the app before you start your game. Click on the "+" under "Sources," pick "Game Capture," and select League of Legends. Then click "Start Recording." After your match, click "Stop Recording." Your video will be saved to the folder you chose earlier.
Xbox Game Bar is super quick. Press the "Windows Key + G" to bring up the bar, then press the record button or "Windows Key + Alt + R" to start and stop recording.
With NVIDIA ShadowPlay, press "Alt + Z" to open the overlay, hit "Record," and you're ready. You can also set up "Instant Replay," which automatically saves the last few minutes of gameplay whenever something awesome happens.
For Bandicam or Fraps, start the recorder before you launch League. Press the hotkey (like F9 or F12) to start or stop recording. It's easy and doesn't take much learning.
Action! is also pretty straightforward. Open the software, pick "Games and Applications" mode, and press the big record button when ready.
If you're using QuickTime Player on a Mac, open QuickTime, go to "File," choose "New Screen Recording," and start your game. QuickTime will record everything that happens on the screen, including your gameplay.
Find and Edit Your Recordings
Once you stop recording, your videos are saved automatically.
- Unless you change it, OBS Studio usually saves videos to your "Videos" folder.
- Xbox Game Bar recordings go into the "Captures" folder inside "Videos."
- ShadowPlay saves clips to your "Videos" folder under "NVIDIA."
- Bandicam and Fraps let you set your folder when you first start recording, and Action! It saves them in its folder, too.
After finding your file, you might want to clean it up a bit. Basic editing helps a lot. You can use simple tools like Clipchamp (free on Windows), iMovie (on Mac), or VLC Media Player to cut out parts you don't need.
Finally, save your edited video in a format like MP4, which works almost everywhere, and share it with your friends, upload it to YouTube, or just keep it for your memories.
Conclusion
Recording League of Legends games is a lot easier than it sounds. With the right tool, some simple setup, and a few clicks, you can capture all your best moments and save them forever. Whether you're playing to show off your skills, laughing with friends, or just watching your progress, recording is a great way to make the most of your games. Now that you know how to do it, it's time to jump in and start recording!
Advertisement
Related Articles
Add Music to Your Slideshow for Free with These 8 Simple Options
Translation and Codec Features Arrive in New Owncast 0.2.2 Release

How to Make Your Videos Look Stunning: 3 Simple Ways to Optimize Video Quality

Master the Art of Recording Your League of Legends Gameplay

6 Best Game Capture Tools for Smooth and Easy Recording

Arc Browser Review: Is It Time to Make the Switch?

How To Add An Advanced Search Box In WordPress Using Facetious: A Guide

Step-by-Step Guide to Creating a Group in Gmail

How to Record Your Gameplay on PC Like a Professional: Essential Tools and Tips for 2025
Top Screen Recording Tools You Should Try Instead of Any Video Recorder

A Simple Guide to Converting AVCHD Videos to WMV