 novityinfo
How to Capture Your Best CSGO Gameplay: A Simple Guide for Players
Advertisement
When you've been grinding match after match, pulling off clutch plays, and feeling that rush of a well-timed headshot, it makes sense to want to keep a record. Not just to share the highlights but to look back, figure out what worked, and get better. Recording your Counter-Strike: Global Offensive gameplay isn't hard once you know what to use and how to set it up. If you want to do it the way experienced players do, it just takes the right tools and a few simple steps. Here's how you can start recording your games like a pro.
How to Record Your CSGO Gameplay Like Professionals
How to Record CSGO with OBS Studio
OBS Studio is a good go-to for anyone who is serious about recording. It isn't pre-installed, but it's free and easy to use with most configurations.
- Download OBS Studio at obsproject.com and install it.
- Open OBS and press the "+" below the "Sources" box at the bottom.
- Choose "Game Capture" from the options.
- In the new window, name your source something like “CSGO Capture” and hit OK.
- Set the mode to "Capture specific window," then choose csgo.exe from the dropdown list.
- Click OK, and OBS will be set to record your CSGO screen.
- Head over to “Settings” in the bottom right.
- Click “Output,” then set your recording format to MP4 (or MKV if you want safety against crashes).
- Under “Recording Quality,” choose “High Quality, Medium File Size” or go for “Indistinguishable Quality” if you’ve got the storage space.
- In “Video,” make sure your resolution and FPS match what you play on (usually 1920x1080 and 60 FPS).
- Press “Start Recording” before launching a match. When you’re done, click “Stop Recording.”
- Your recordings will be saved to the path shown in the “File Path” under “Output.”
OBS gives you more control, and once you’re familiar with it, tweaking settings becomes second nature.
How to Record CSGO with NVIDIA ShadowPlay
If you have an NVIDIA graphics card, ShadowPlay (now part of GeForce Experience) is built in. It’s one of the easiest ways to record without a noticeable hit to your performance.
- Download GeForce Experience from NVIDIA’s website and install it.
- Launch GeForce Experience and log in.
- Click the gear icon to open settings, and make sure “In-Game Overlay” is enabled.
- Press Alt+Z to open the overlay.
- Click on “Record,” then go to “Settings.”
- Choose your resolution (usually 1080p), frame rate (60 FPS), and bitrate (high for best quality).
- Close settings, and you’re good to go.
- To start recording, press Alt+F9. This begins the manual recording.
- To stop, press Alt+F9 again. Your video will be saved automatically, typically in your Videos folder under “Desktop.”
ShadowPlay is great for players who want no-hassle recording with minimal setup. It doesn’t hog system resources and works in the background without interfering with gameplay.
How to Record CSGO with AMD ReLive
If you’re using an AMD graphics card, ReLive is your answer. It works much like ShadowPlay and is part of the AMD Software package.
- Open AMD Software: Adrenalin Edition.
- Navigate to the “Record & Stream” tab.
- Enable “Recording.”
- Under “Recording Settings,” pick your resolution (1080p is standard), frame rate (set to 60 FPS), and bitrate (around 30 Mbps gives smooth footage).
- Set your save location for the clips so you know where to find them.
- To record manually, press the default hotkey (usually Ctrl+Shift+R).
- Press the same combo to stop recording. The file will be saved to the folder you chose earlier.
ReLive is a simple option for AMD users that still offers quality results. It’s lightweight and does the job without needing much fine-tuning.
How to Record CSGO with Steam’s Built-in Demo Feature
If you don’t care about capturing every detail in real-time but want the flexibility to rewatch and edit later, demos are the way to go.
- Launch CSGO.
- Open the console by pressing ~ (you might need to enable the developer console in settings first).
- Type record demo_name and press Enter. This starts recording a demo.
- To stop, open the console and type stop.
- Your demo file will be saved in the "csgo” folder inside your game directory (Steam > steamapps > common > Counter-Strike Global Offensive > csgo).
- To play it back, type playdemo demo_name in the console.
- During playback, you can control the speed, pause, or skip rounds.
This method records your in-game actions and lets you view everything later from any angle. It doesn’t capture your desktop or audio, but it's great for editing montages or analyzing plays.
How to Record CSGO with Xbox Game Bar on Windows
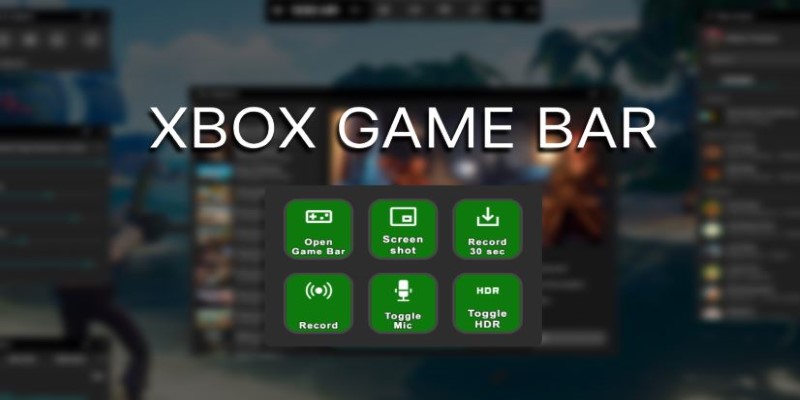
This one’s for Windows 10 or 11 users who want a basic, no-download way to capture gameplay.
- Press Windows Key + G to open the Xbox Game Bar overlay.
- If this is your first time, you might need to enable Game Mode in Windows settings.
- In the overlay, click the "Capture" widget.
- Press the record button or hit Windows + Alt + R to start recording.
- You'll see a small bar showing that the recording is active.
- Press the same shortcut to stop. Files are saved in your Videos folder under “Captures.”
This is more of a casual option, but it works surprisingly well if you're not running multiple monitors or streaming while playing.
Conclusion
Whether you're scrimmaging with friends, grinding matchmaking, or clutching in FACEIT, recording your gameplay the right way makes a difference. It's not just about having the footage—it’s about making sure what you save is actually watchable, smooth, and useful. Pick the method that fits your setup and style, tweak the settings once, and then let your plays do the talking.
Advertisement
Related Articles
Top Screen Recording Tools You Should Try Instead of Any Video Recorder

Discover How ActiveCampaign Reduced Its Churn Rate to 6% in 90 Days

How to Make Your Videos Look Stunning: 3 Simple Ways to Optimize Video Quality
How to Convert FLV to MP4 for Free: Top Tools and Easy Methods
Convert MKV to iPad Free and Fast with These Top Tools

How to Record Your Gameplay on PC Like a Professional: Essential Tools and Tips for 2025
Master the Art of Recording Your League of Legends Gameplay
Something You Need to Know about Converting Video to WMV
Trello vs. Todoist: Which Should You Use in 2025 for Tasks?
5 Best Xbox Converter Apps and Devices for Mac
A Simple Guide to Converting AVCHD Videos to WMV